Overview
preezie triggers (Exit Intents, Time Delays and Calls To Action) can be controlled as a Group or Individually.
Each trigger references an existing workflow or selector (a single entry into different workflows), and can be used to help shoppers in other scenarios.
Activate/deactivate ALL popups
Completing the steps below will launch all active/inactive settings on individual popups
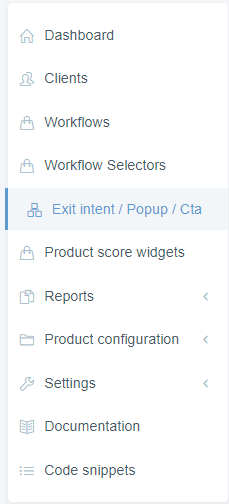
Go to the Exit intent / Popup / CTA tab in the preezie portal
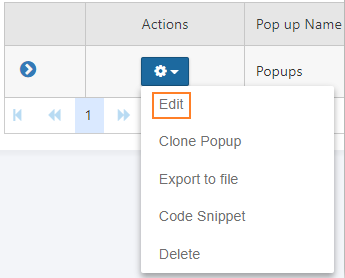
Drop down the actions menu and click on ‘edit’
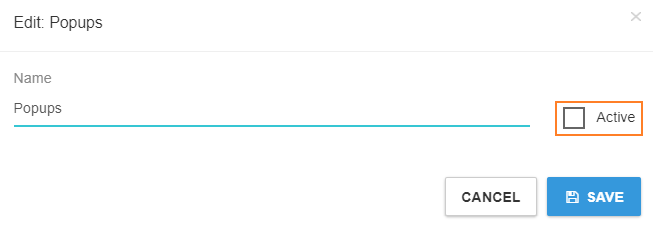
Select or deselect the ‘Active’ check box and save
Activate/deactivate INDIVIDUAL popups
In order for Active popups to show on your site, the top level activation as outlined above must be selected
Go to the Exit intent / Popup / CTA tab in the preezie portal
Drop down the Pop up tab

Drop down the actions menu for the Exit intent / Popup / CTA you want to turn on or off and click ‘edit’

Select or deselect the ‘Active’ check box and save
Trigger rules
Each trigger can be controlled to show in different ways. By default, a pop up/exit intent will NOT show if the user has already started the same Workflow on your site. This is automated and not controlled by a setting, but it stops any repeat displays to users who have already engaged with preezie.
Pop up/Exit intent
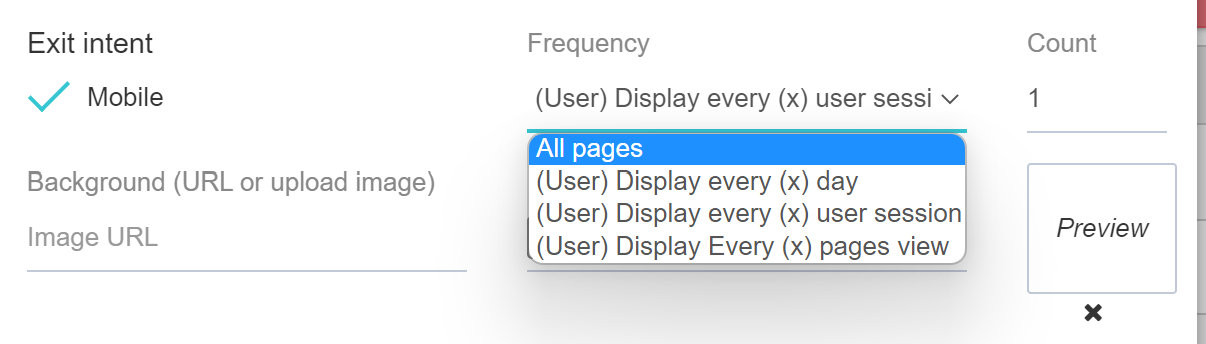
Frequency
how often the exit intent is shown, this is used to cap how much a user could see it (based on their device)
Rules
All of these rule options are independent but can be used in combination, the pop up/exit won’t show if at least one of these rules blocks it (i.e. even if another rule states to show it).
Don't show to utm_medium=email referrals
If checked, this checks the landing url and will not show your exit intent if utm_medium=email is anywhere in the url it shows on. This can be used for email capture specific exit intents, so if they have come from an email and you’re using Google’s utm parameters they will not be asked for it again
Don't show to existing preezie leads
If checked, this checks if the user on your website has already submitted their email address in a preezie lead form in the past and will NOT show the pop up/exit intent. It uses a cookie so will check at the user level over multiple sessions
Use rule
If checked, this will show another box to choose from a url contains / matches or finishes with. This is used to target the pop up/exit to ONLY show on certain pages. For example,
To only show on this page: https://www.mywebshop/collections/footwear
Your rule would be: Use rule > Url Match > https://www.mywebshop/collections/footwear

To show on any page that contains the word “footwear” in the URL like this link: https://www.mywebshop/collections/footwear
Your rule would be: Use rule > Url Contains > {footwear}

To show on footwear you may NOT want to show it on the “Sale” page: https://www.mywebshop/footwear-sale
To exclude you need to contain the rule in { } with the page you wish to show it on, AND then the exclusion symbol “!” before the word you wish to exclude.Your rule would be: Use rule > Url Contains > {footwear AND !sale}

To show a pop up that will only show on pages that contain 2 values at the same time like.
eg, if you want to only show the pop up on pages that contain both “collection” & “footwear” at the same time.
Will show on: https://www.mywebshop/collections/footwear
Will not show on: https://www.mywebshop/footwear-sale (collections is not in this URL)
To include two values you need to contain the rule in { } with the page you wish to show it on, AND then the word you wish to include.Your rule would be: Use rule > Url Contains > {collections AND footwear}

You can use multiple matches in the url by using { } brackets.
For example, these URL’s will can all be added to 1 rule:
https://www.mywebshop/collections/boots
https://www.mywebshop/collections/runners
https://www.mywebshop/collections/slidesYour rule would be: Use rule > Url Contains > {boots}{runners}{slides}

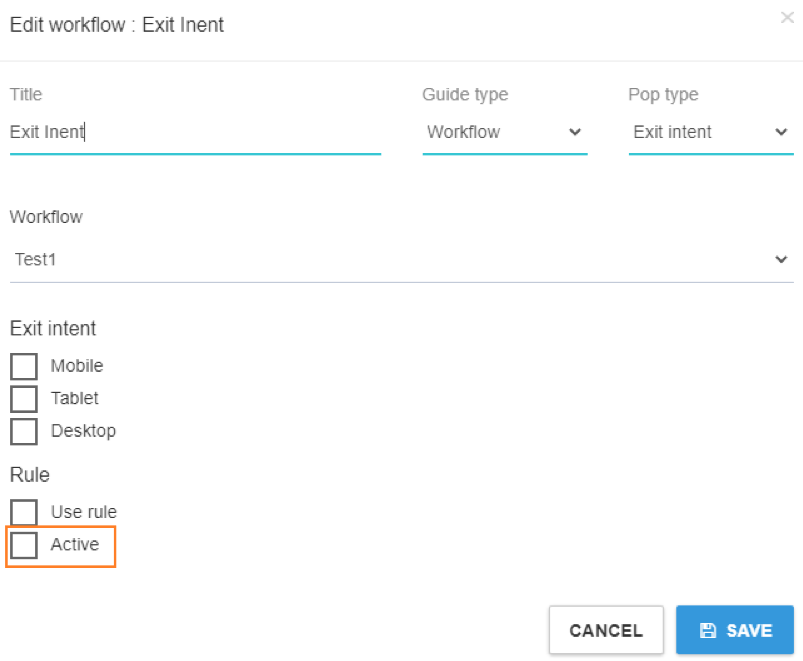
Remember to check Active for any of the above to work!