...
First create a new User-Defined variable that references the product details from your shopping the user’s purchased cart
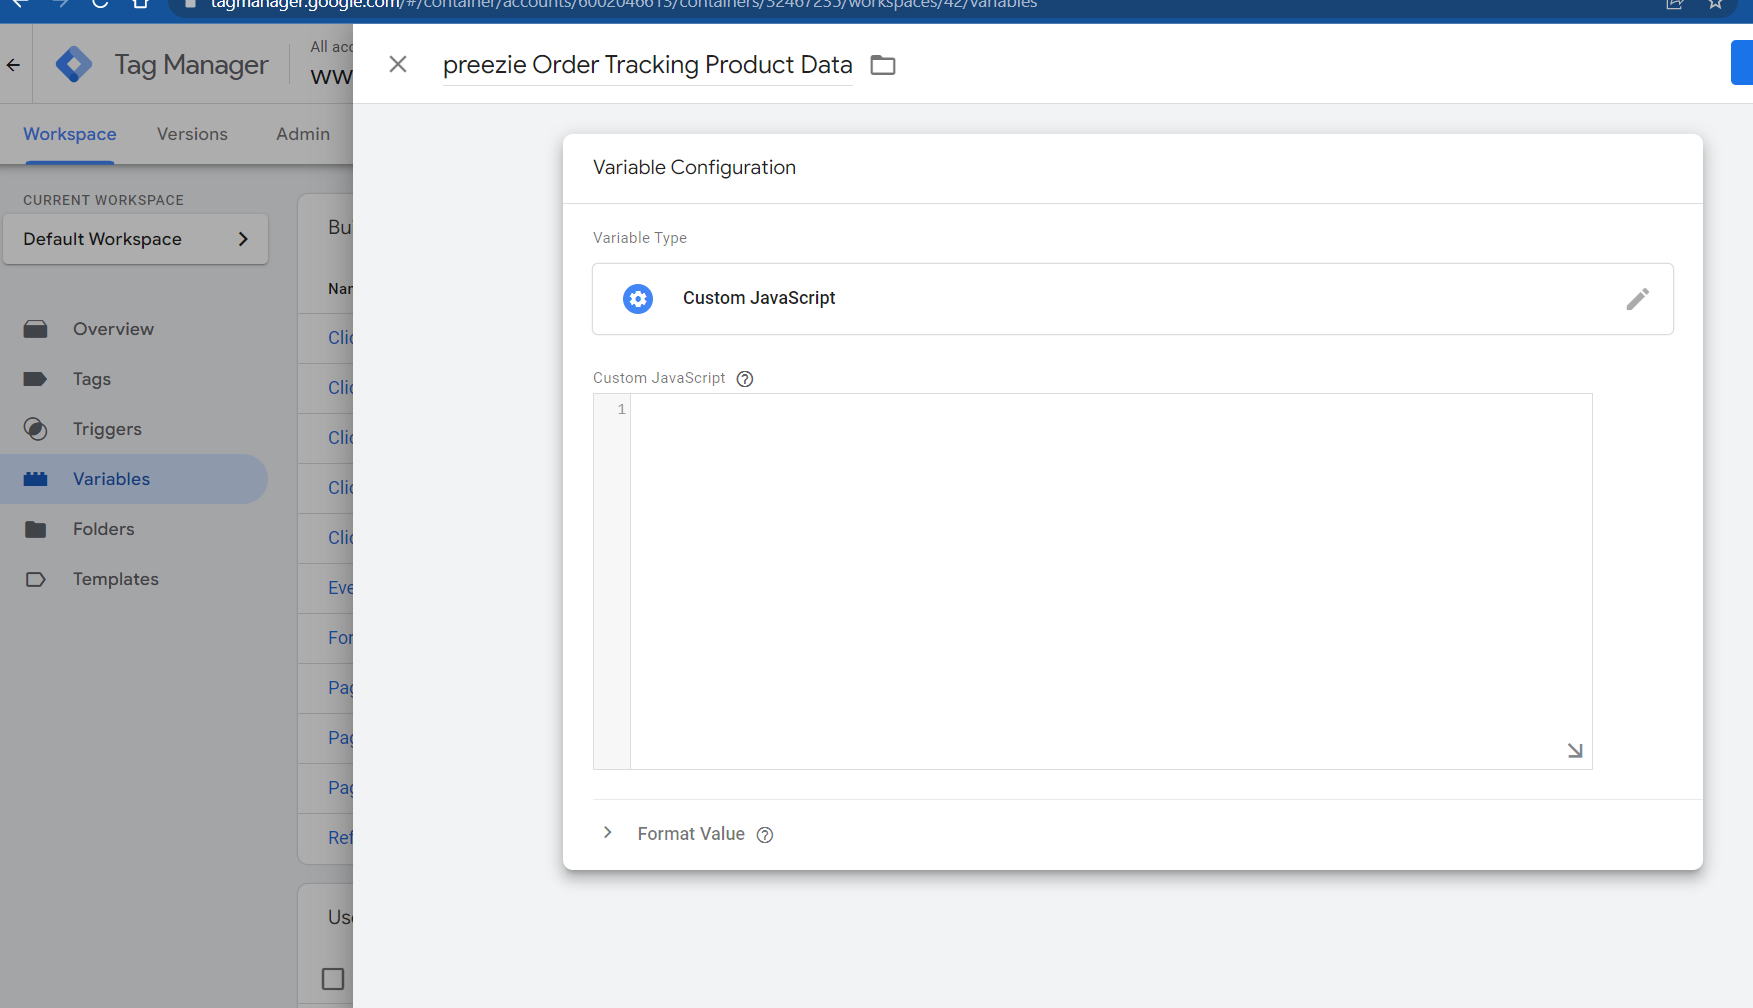
In GTM, click on Variables > User-Defined > New > Variable Configuration > Custom JavaScript
Give it a name of preezie Order Tracking Product Data (Note, this is case sensitive!)
Then paste in the below code code but . If you already have a GTM Data Layer variable that captures the ecommerce variables of your cart replace
{{Order Products}}with the name of your GTM Data Layer variable that captures the ecommerce variables of your cartthat variable:
| Code Block | ||
|---|---|---|
| ||
function() {
  var products = [];
  var productList = {{Order Products}};

  if (!productList) {
    return products;
  }

  for (var i in productList) {
    if (productList.hasOwnProperty(i) && productList[i] && productList[i].id != null) {
      var items = {};
      items.productId = productList[i].id;
      items.productName = productList[i].name;
      items.price = parseFloat(productList[i].price).toFixed(2);
      items.quantity = parseInt(productList[i].quantity);
      products.push(items);
    }
  }

  return products;
} |
For example, productList[i].id; is used because your Data Layer variable being populated uses ‘id’ as the variable name for a sku/unique product id.
...
If you don’t have a Data Layer variable for a purchase in GTM, you need to create one by first making and call it Order Products. To do this first make a test transaction in preview mode, then click on the purchase event and viewing the Data Layer tab:.
In this example, the array is called purchase.items. This is the Data Layer Variable Name value. :
...
Create the Data Layer Variable using that variable name and call it Order Products i.e. this is the {{Order Products}} referenced in your first code snippet.
Step 2
You can now create a Tag to run the JavaScript that will use these product variables
Click Tags > New > Variable Configuration > Custom HTML
Give it a name of preezie checkout initialisation
Paste into the box this code:
...