...
Plug in the initialisation code
Generate a formatted transaction tracking code based on your shopping cart variables
preezie field definitions
All of these are required for every product in the cart at the time of purchase.
Property | Type | Description |
productId | String | The unique identifier of the product. If you’re using preezie Journeys this id must be equal to the id sent to preezie from your integrated product feed |
productName | String | Name of the purchased product |
quantity | Integer | Quantity of the purchased product |
price | Decimal | Single item price. This will be a number to 2 decimal places |
Steps for Google Tag Manager (GTM)
Here are the steps to add the code via GTM.
Step 1
First create a new User-Defined variable that references the product details from your shopping cart
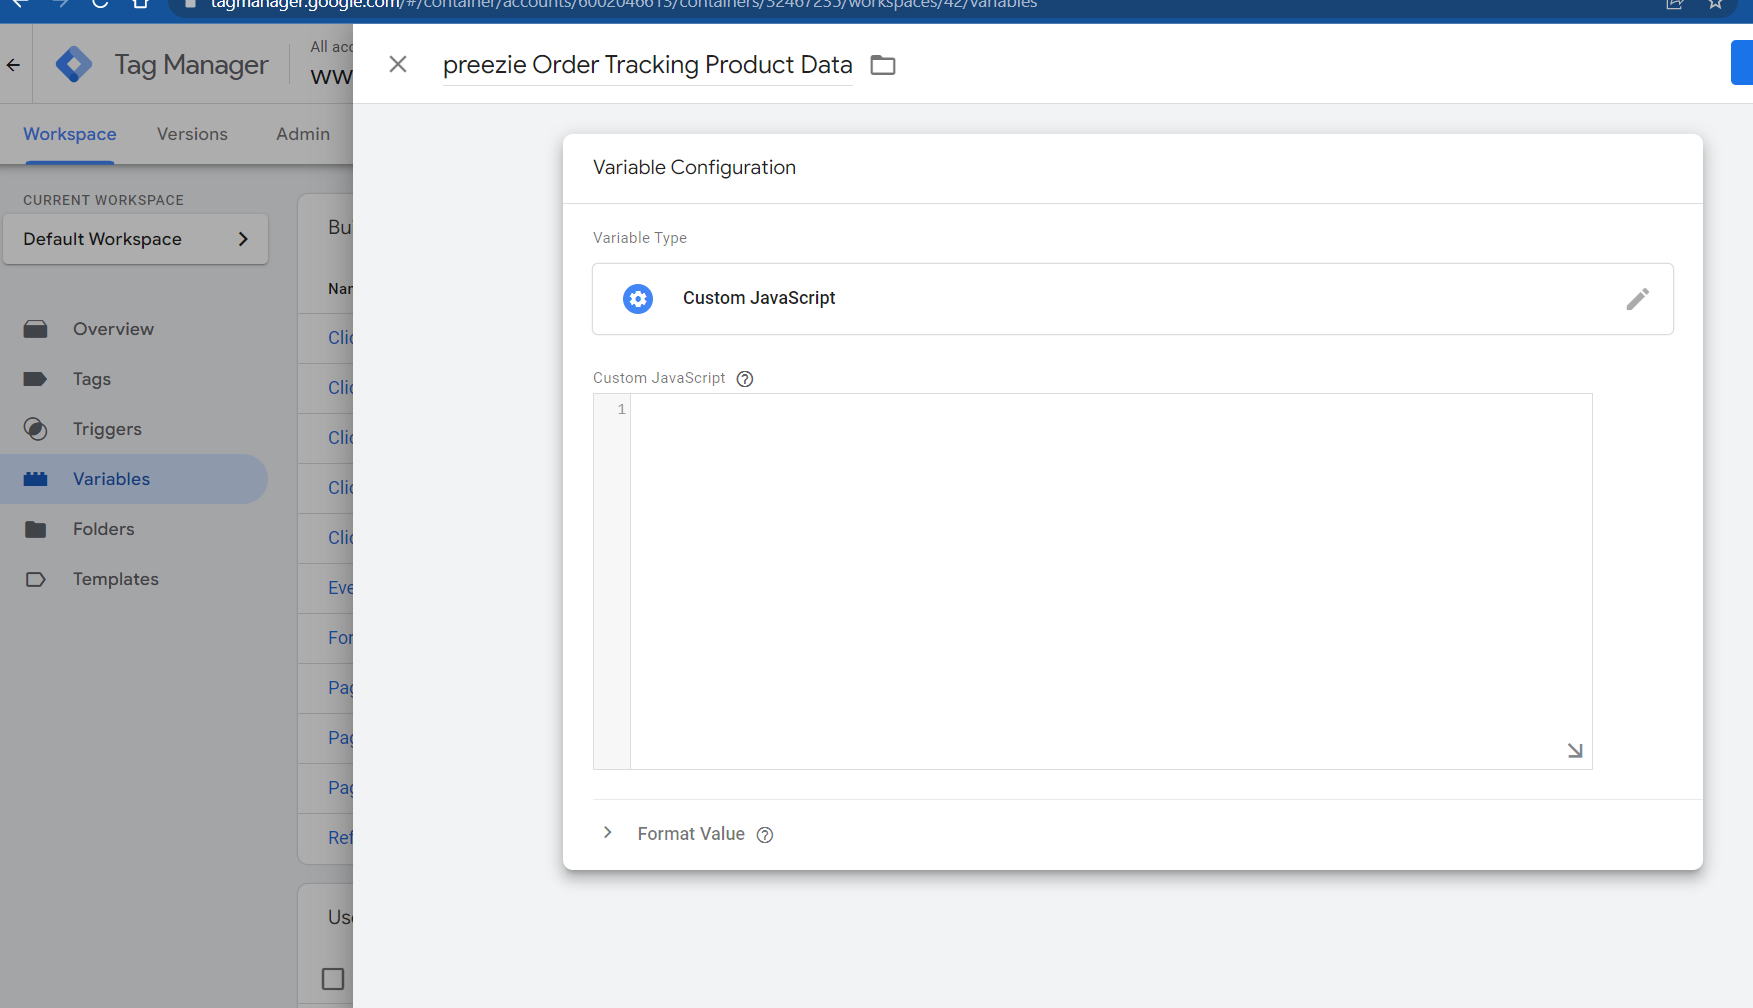
In GTM, click on Variables > User-Defined > New > Variable Configuration > Custom JavaScript
Give it a name of preezie Order Tracking Product Data (Note, this is case sensitive!)
Then paste in the below code code but replace
{{Order Products}}with the name of your GTM Data Layer variable that captures the ecommerce variables of your cart:
...
In this example, the array is called purchase.items. This is the Data Layer Variable Name value.
...
Step 2
You can now create a Tag to run the JavaScript that will use these product variables
Click Tags > New > Variable Configuration > Custom HTML
Give it a name of preezie checkout initialisation
Paste into the box this code:
...
Now add a Trigger of your Order Success/Thank You page, create one if you don’t already have one:
...
Step 3
The final Tag to create will send the whole batch of data to preezie in the correct format.
Click Tags > New > Variable Configuration > Custom HTML
Give it a name of preezie pixel code
Paste into the box this code exactly:
...
Add the same Order success Trigger to this Tag - this tag also needs to fire on the checkout confirmation page

Step 4
Now the final step is to ensure the preezie checkout initialisation Tag fires before the preezie pixel code Tag
In the preezie pixel code Tag click > Tag configuration > Advanced Settings > Tag Sequencing > Fire a tag before preezie pixel code fires > preezie checkout initialisation > Save

...